How to · 10 min read
How to Add Captions to YouTube Shorts: The Honest 30-Minute Setup
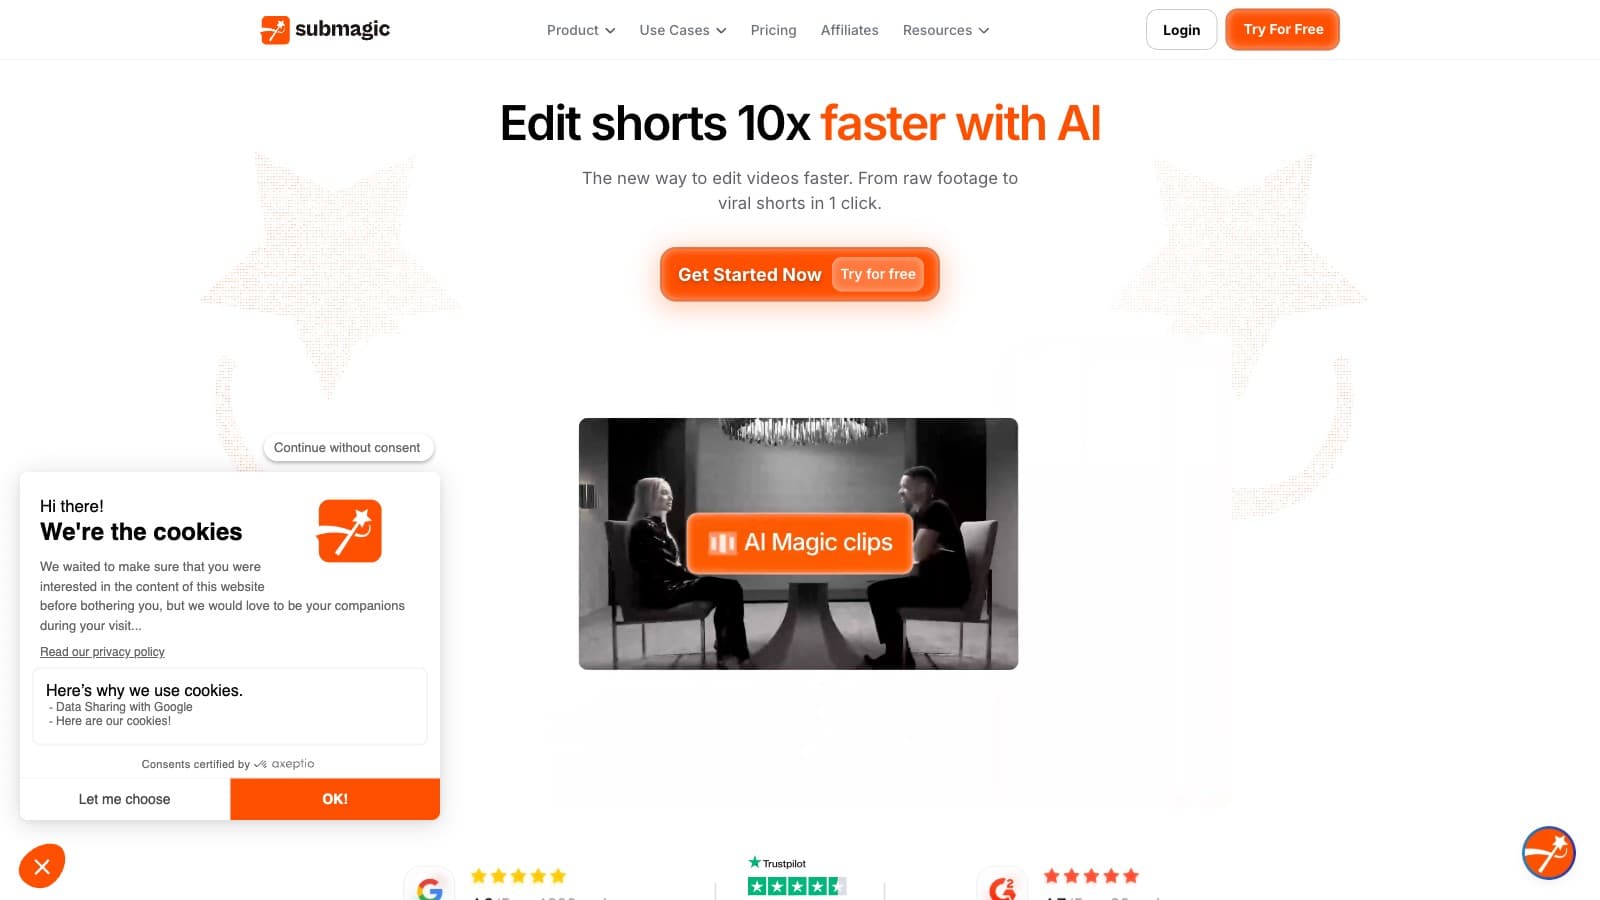
Add burned-in animated captions to YouTube Shorts in 30 minutes. Tool-agnostic steps plus honest picks — Submagic, Captions, and CapCut's free option.
- Difficulty
- beginner
- Time needed
- 30 min
- Published
Disclosure: Some tool links below are affiliate links. If you sign up through one we may earn a commission — at no extra cost to you. We'd recommend the same tools either way.
We earn a commission if you sign up through our links. It doesn't change what we write — we'd tell you the same thing either way.
Who this is for
You already post Shorts. You have a rhythm — phone clip, maybe a little CapCut trim, upload. You want the animated word-by-word captions your feed is full of, but you're not sure which tool to sign up for or whether the free options are good enough. This guide gets you from zero to a captioned Short in 30 minutes the first time, and 5–10 minutes per video after.
Skip this guide if you only need plain single-line captions for accessibility. YouTube's own auto-caption track in Studio handles that for free at upload. What we're covering here is burned-in animated captions — the kind that change color on the emphasized word, bounce, and live inside the rendered video frame.
What you'll need
- A vertical source clip exported at 1080×1920 (9:16), MP4, under 3 minutes. If your raw footage is horizontal, crop it in CapCut first or let the caption tool reframe.
- A free trial on one caption tool (Submagic, Captions, or CapCut — pick below).
- A YouTube channel with Shorts enabled (any channel with >0 subscribers).
- About 30 minutes the first time (account + style decisions + one render), then 5–10 minutes per video once your style is saved.
- Budget: $0 if CapCut's free captions are enough. $9.99/mo for Captions Pro. $19–$39/mo for Submagic if you want full brand control.
The steps
1. Decide your caption style before you open any tool
Action: Pick one of two philosophies and write it down. (Yes, before signing up for anything.)
Auto-style means you let the tool pick a trending preset — big white text, yellow highlight on the keyword, a bounce on emphasis. It looks like everyone else's Shorts. That's the point: it's a known-winning visual pattern and it takes 10 seconds to apply.
Brand-match means you pick your font, your exact hex color, your position, and you save it as a preset. It looks like your channel. But you'll spend 15–20 minutes on the first setup dialing it in, and some tools (Opus Clip, free CapCut) don't let you go deep enough on brand matching.
The honest tradeoff: if you're under 5,000 subs and still figuring out your visual identity, auto-style is fine — maybe even better, because trending styles have higher retention. If you're over 25,000 subs with an established brand, auto-style makes your Shorts look generic and hurts the channel's consistency. Decide now so you don't waste 20 minutes customizing and then revert.
Success signal: you've written one sentence like "Auto-style, CapCut preset" or "Brand-match, Poppins font, #FF5E1A highlight, bottom third position."
2. Pick your tool based on the decision above
Action: Sign up for exactly one.
- Auto-style, zero budget → CapCut (desktop or mobile). Free. Built-in auto captions, 10+ templates. You already have it if you edit on phone. Ceiling is low — you can't save a true brand preset and the animations are the same handful everyone uses.
- Auto-style, want it cheap with better templates → /review/captions-ai. Pro tier is $9.99/mo for 100+ caption templates, watermark-free export, and a mobile-first flow that's faster than desktop tools. It's the cheapest paid caption tool with quality on par with Submagic's auto presets. See our Captions review.
- Brand-match, serious about consistency → /api/go/434fec2688d0ce8e. Starter is $19/mo, Pro is $39/mo. Full control over font, color, position, animation per word. Brand presets actually work. If captions are a weekly job, this is the tool. Full breakdown in our Submagic review.
- Also clipping long-form to shorts → /api/go/562c8ffec29affc0. Opus handles the clipping and the captions in one pass. Captions are less customizable than Submagic, but if you're feeding it a 40-minute podcast and you want 8 captioned Shorts back, Opus is the fewest steps. See Opus Clip review.
Success signal: you're logged in and looking at the upload screen.
3. Upload your source clip
Action: Drag your 1080×1920 MP4 into the uploader. Wait for it to finish.
Most tools auto-detect aspect ratio, but not always correctly. Confirm the preview shows your clip vertical, not letterboxed. If it's letterboxed, you uploaded a horizontal source — back out, re-export from CapCut at 9:16, try again. Don't trust the tool's auto-reframe to rescue a 16:9 source; it crops heads out roughly 30% of the time in our testing.
Keep clips under 60 seconds for Shorts — YouTube's current Shorts ceiling is 3 minutes, but anything over 60 seconds loses the Shorts auto-looping behavior and retention craters. If your source is longer, trim it down first in CapCut or use a clipper like Opus Clip.
Success signal: vertical preview, correct duration, upload complete.
Failure mode: the preview shows black bars top and bottom. Your source is 16:9 — fix at the source, not in the caption tool.
4. Generate captions and review the transcript
Action: Click "Auto-generate captions" (or equivalent). When the transcript appears, read every line before moving on.
AI transcription is about 95% accurate on clean audio. The 5% it misses is always the same two categories: proper nouns (your name, your brand, product names) and jargon (anything industry-specific). "Submagic" becomes "sub-magic." "Gemini 2.5" becomes "Gemini to point five." These mistakes don't just look bad — they actively hurt the Short because viewers lose trust mid-scroll.
Budget 2–3 minutes here. Click through the transcript word by word. Fix every misheard proper noun and every jargon term. If your clip has background music or an accent, bump this to 5 minutes.
Success signal: the transcript reads exactly what you said, with correct capitalization on names.
Failure mode: you skip this step because the transcript "looks fine." Your next comment on the Short will be "did you mean [correct spelling]?" and it'll pin at the top.
5. Customize: font, color, position, emoji behavior
Action: Apply your style from Step 1.
If you chose auto-style, pick a template you like, preview three lines, and commit. Move on.
If you chose brand-match:
- Font: pick your brand font (Submagic supports Google Fonts + uploads; Captions has 30+ built-in; CapCut is locked to its library). Favor a condensed sans-serif at this size — decorative fonts turn to mush at 1080p on a 5-inch phone screen.
- Color: set a base color (usually white) and a highlight color for the emphasized word. Use your brand hex exactly. Don't eyeball it.
- Position: bottom third is default. Move up to the middle third if your clip has a subject's face in the lower half. Never place captions in the top 20% — YouTube's Shorts UI overlays there.
- Emoji behavior: Submagic and Captions both auto-insert emoji based on keywords. This is polarizing — some creators swear by the retention bump, others find it obnoxious. Default is "on"; if it feels off-brand, disable it entirely in settings.
Save your choices as a preset (every paid tool supports this). Next video, you skip this whole step.
Success signal: three-line preview that matches your channel's look.
6. Export and upload to YouTube Shorts
Action: Export at 1080×1920, MP4, H.264, 30fps (or 60 if your source was 60). Render will take 30 seconds to 3 minutes depending on clip length and tool.
Upload to YouTube via Studio (desktop) or the mobile app. Use a #Shorts hashtag in the title or description only if your clip is 60s+ — under 60s is auto-detected as a Short. Title should front-load the hook ("I tested 3 AI caption tools and…" not "My honest review of…").
Same exported file works for TikTok and Instagram Reels with zero modification — upload the same MP4 to all three. Don't re-render per platform; you'll just lose quality on each pass.
Success signal: the video appears in your channel's Shorts shelf within 5 minutes, and tapping it plays with captions visible.
Failure mode: captions render but don't show up on the YouTube player. You exported without burning in — re-export with "burn in captions" or "hardcoded captions" enabled, not "export as SRT."
If this works, what's next
- Build a weekly pipeline: once your preset is saved, the 30-minute first run drops to 5–10 minutes per video. Batch-process a week of Shorts in one session.
- Add long-form-to-shorts clipping: if you publish long videos or podcasts, pair your caption tool with a clipper. See Opus Clip vs Vidyo.ai or the broader best AI captioning tools for 2026 round-up for the full landscape.
- Level up with transcript editing: if your clips need more than caption styling — cuts, filler-word removal, multi-speaker labeling — move up to Descript and edit the video by editing the text.
Honest caveat
This guide doesn't cover accessibility-grade captions (the kind required for compliance) or multi-language captions for international audiences. YouTube's auto-generated CC track handles baseline accessibility for free — leave it on, it's separate from the burned-in visual captions we're doing here.
If you find yourself spending more than 15 minutes per Short on captions after your first week, you picked the wrong tool or you're overthinking the style. Go back to Step 1, pick auto-style, save a preset, and stop touching it.
Tools we recommend
Ranked by job-to-be-done:
- /api/go/434fec2688d0ce8e — best for brand-match. $19/mo Starter, $39/mo Pro. Full control over font/color/position. Read the full Submagic review or the Submagic vs Captions comparison to decide.
- /review/captions-ai — cheapest paid tier. $9.99/mo Pro gets 100+ templates and watermark-free export. Mobile-first. Pro tier has zero AI credits, so don't expect AI Twin or B-roll at that price. See the Captions review.
- CapCut (free, built-in) — zero-budget option. Auto captions, ~10 templates, works on phone and desktop. Good enough for under 5K subs or testing the habit before paying.
- /api/go/562c8ffec29affc0 — if you're also clipping long-form, Opus bundles clipping plus captions in one pass. Not the best captions, but fewest steps. Opus Clip review.
- /api/go/1ec685e7c747f04b — overkill for captions alone, but if you're editing transcript-first (podcasts, interviews), Descript captions ride along with the edit. Descript review.
FAQ
Do I need to add captions manually, word by word? No. Every tool in this guide auto-generates the full transcript from your audio. You only edit the 5% the AI mishears — mostly names and jargon. Budget 2–3 minutes for transcript review per Short.
Can I use CapCut's free captions and upgrade later? Yes, and it's a good path. Start with CapCut free. When caption work becomes a weekly job that eats more than an hour, upgrade to Captions Pro at $9.99/mo or Submagic Starter at $19/mo. No switching cost — your existing Shorts stay up.
Will YouTube penalize burned-in captions vs. its own CC track? No. YouTube doesn't penalize either way. Creators using burned-in captions often also leave YouTube's auto-CC on for accessibility — the two don't conflict. Burned-in captions display by default; CC tracks require the viewer to toggle.
What caption font size should I use for Shorts? Tool defaults are calibrated for mobile viewing at 1080p. Don't override unless captions visibly overlap your subject. If you customize, aim for 60–72px at 1080×1920 resolution — large enough to read on a 5-inch screen without covering faces.
Can I use the same captioned video for TikTok and Instagram Reels? Yes. Export once at 1080×1920 MP4 and upload the same file to YouTube Shorts, TikTok, and Instagram Reels. Don't re-render per platform — each export pass degrades quality.
How long does it take per Short after the first setup? 5–10 minutes per video once your caption preset is saved: upload (1 min), review transcript (2–3 min), export (2–3 min), upload to YouTube (1–2 min). The 30-minute estimate in this guide covers the first run including account setup and style decisions.
Common questions
Questions people ask.
- Can I add captions to a Short entirely for free?
- Yes — CapCut's auto-caption feature (desktop or mobile) is free, covers 10+ animated templates, and exports watermark-free. The ceiling is low: you can't save a true brand preset and the templates look like every other Short. For accessibility-only single-line captions, YouTube Studio's own auto-caption track at upload is free and good enough.
- How long does it actually take to caption a Short the first time?
- About 30 minutes end-to-end: 5 minutes to decide your caption philosophy, 10 minutes to sign up and learn the tool's upload flow, 10 minutes to tune the style, 5 minutes to export and upload. Once your brand preset is saved, subsequent Shorts drop to 5–10 minutes each. If you're spending more than 45 minutes on your third Short, your style is still undecided.
- Will these tools work on my phone?
- Captions is phone-first and the fastest mobile flow in this guide — iOS is the primary app, Android works but trails on features. CapCut is cross-platform phone and desktop with near-identical feature sets. Submagic works on mobile web but the brand-match workflow is noticeably easier on desktop where the preset dialog has more space.
- What's the most common caption mistake that kills retention?
- Captions positioned in the bottom third of the frame — which YouTube's Shorts UI overlaps with the title, like-button stack, and channel handle on iPhone SE and smaller Android screens. Lift captions to the middle third and test on the smallest screen you can find. Also: don't burn captions that run past the last frame of audio; silent trailing text reads like a bug.
- Do I need Submagic or is Captions Pro enough?
- If you can't describe your brand in one sentence — 'Poppins font, #FF5E1A highlight, bottom third' — Captions Pro at $9.99/mo is enough. Paying $39/mo for Submagic before you have a defined style wastes the premium. Revisit Submagic when your channel has a visual identity you're actively protecting across thumbnails and channel art.
Get more guides.
Subscribe to CreatorStack.
Join the listKeep reading
- Review
Captions Review: The cheapest caption app, until you want the AI features
- Review
Descript Review: The transcript-first editor earning its cult following
- Review
Opus Clip Review: Fastest auto-clipper, at the cost of a generic look
- Review
Submagic Review: Best-in-class captions, the clipper is a paid add-on